
Starlink Installation for Smart Property Connectivity
- Clear Telecommunications
- Jun 20, 2025
- 2 min read
Location: Sonoma County, California Client: Residential client Property Type: Residential property with detached garage and distributed smart infrastructure

Overview
Clear Telecommunications was hired to install a complete low-voltage system for a private residence in Sonoma County — including network infrastructure, security cameras, wireless access points, and a full Starlink setup. The project combined careful planning with precise execution, resulting in a clean, reliable system built for long-term performance.
Rack & Mounting Infrastructure
The team began by creating a solid foundation for the network:
A 2U wall-mount bracket was installed inside the main house on a 2'x2' primed plywood panel, anchored to structural studs.
A 1U wall-mount bracket was mounted in the garage for additional hardware.
All mounts were placed with accessibility, ventilation, and serviceability in mind.
Patch Panels & Cable Management
To centralize connectivity:
Two 24-port patch panels were installed — one in the house, one in the garage — aligned with precision.
All Cat6 cables were terminated, labeled, and tested for signal integrity.
2-inch D-rings and cable management techniques were used to maintain a clean layout and reduce interference.
Patch cords were sized to minimize slack while ensuring easy access.
Bend radius was respected on all runs, with terminations completed using punch-down and crimping tools.
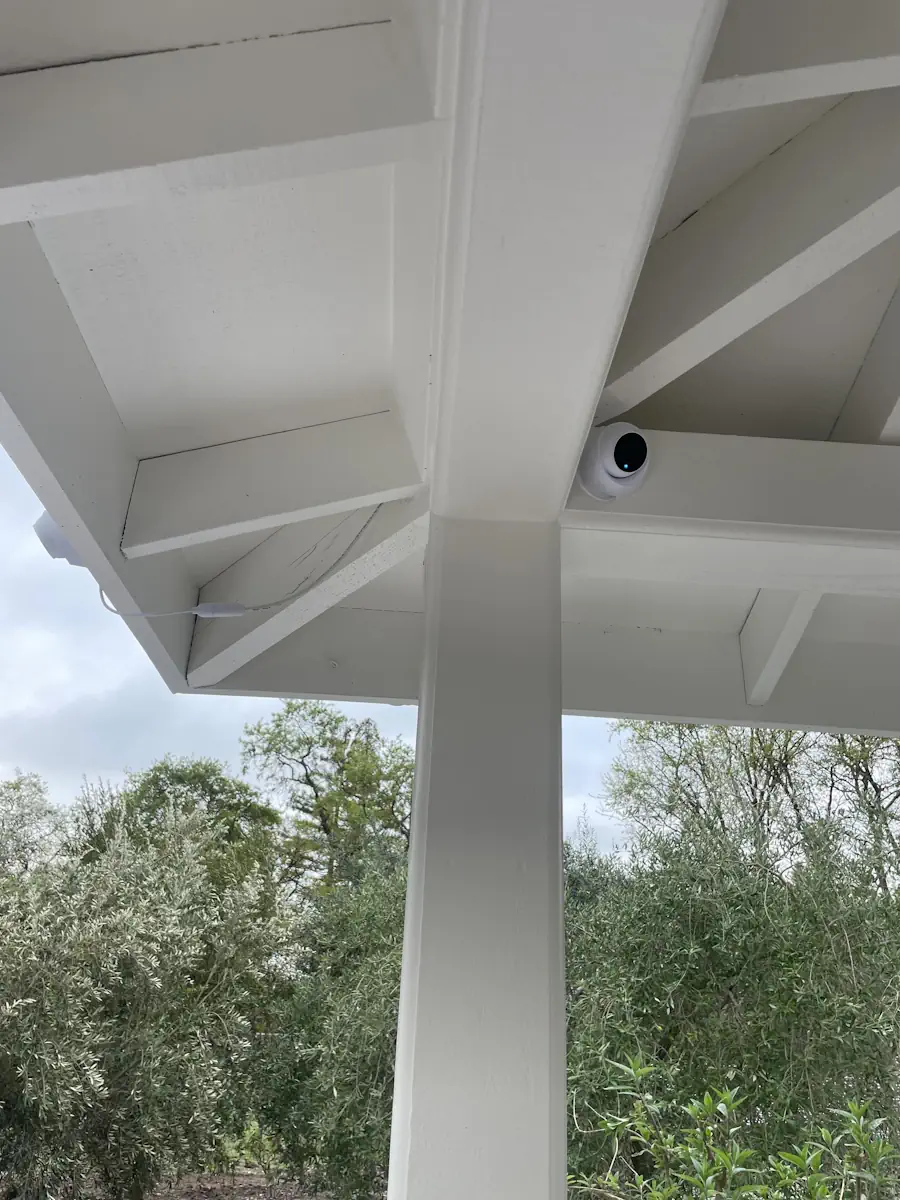
Device Installation & Configuration
The newly installed network was built to support a range of smart devices across the property:
Five security cameras were installed with attention to sightlines, weatherproofing, and cable concealment.
Two wireless access points were placed for optimal coverage.
All devices were powered, configured, and tested in collaboration with Ben from Noma-Tek to ensure full network integration.
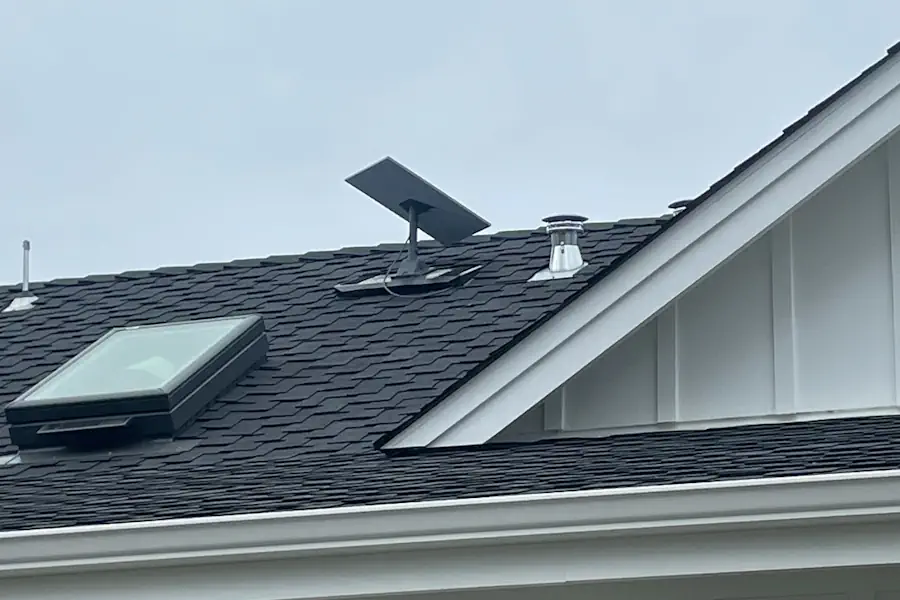
Starlink Integration
As part of the overall connectivity plan:
The Starlink dish was mounted using a custom bracket, positioned for ideal satellite line-of-sight.
Cabling was routed cleanly and connected to the home’s main network infrastructure.
Installation followed Clear’s standards for durability, safety, and minimal visual impact.Installation adhered to Clear’s standards for durability and minimal visual impact.
Materials Used
(1) 2U Wall-Mount Bracket – ICC, 6-inch
(1) 1U Wall-Mount Bracket – ICC, 6-inch
(1) 1U ICC Blank
(2) 24-Port Patch Panels (Main House & Garage)
(1) 2'x2' Primed Plywood Board
(25) Cat6 Modular Ends
(12) Cat6 Male RJ45 Ends
(1) Custom Starlink Mount
(30 ft.) Vertical Cable Cat6, White
(2) 2-inch D-Rings
(18) 3-foot Cat6 Patch Cords, Skinny Blue
(1) 1-foot Cat6 Patch Cord, Skinny Blue
Results
All systems were fully installed, tested, and verified operational before project completion. The result is a high-performance, professionally managed setup that supports security, wireless coverage, and Starlink internet — all from a clean, centralized infrastructure. Every component was placed with care and labeled for easy maintenance and future upgrades.
Need Starlink and a Reliable Network Setup?
Clear Telecommunications provides professional Starlink installation and full low-voltage systems for homes and businesses across Sonoma, Napa, and Marin counties. From structured cabling and security cameras to Wi-Fi coverage and access control, we deliver clean, reliable, and future-ready solutions — installed by experts who care about doing it right.
Book your installation today and get fast, stable internet with a clean, professional setup.


Comments